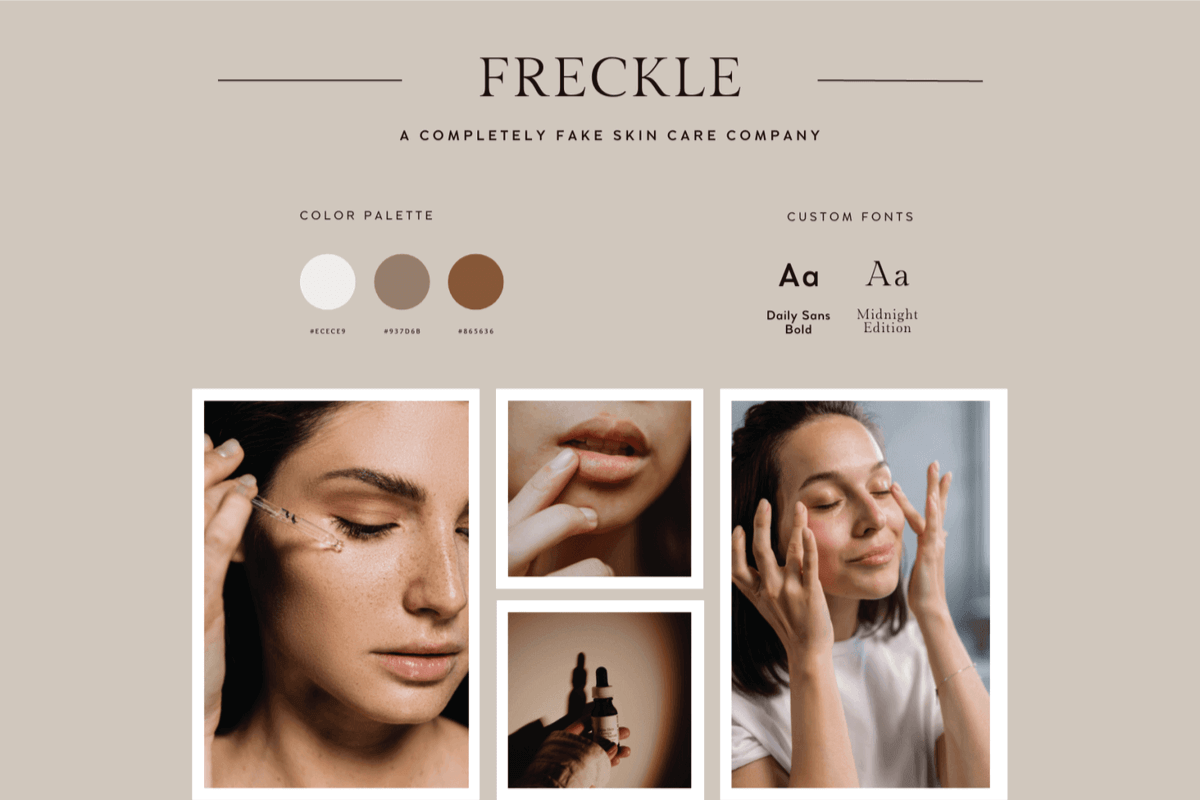
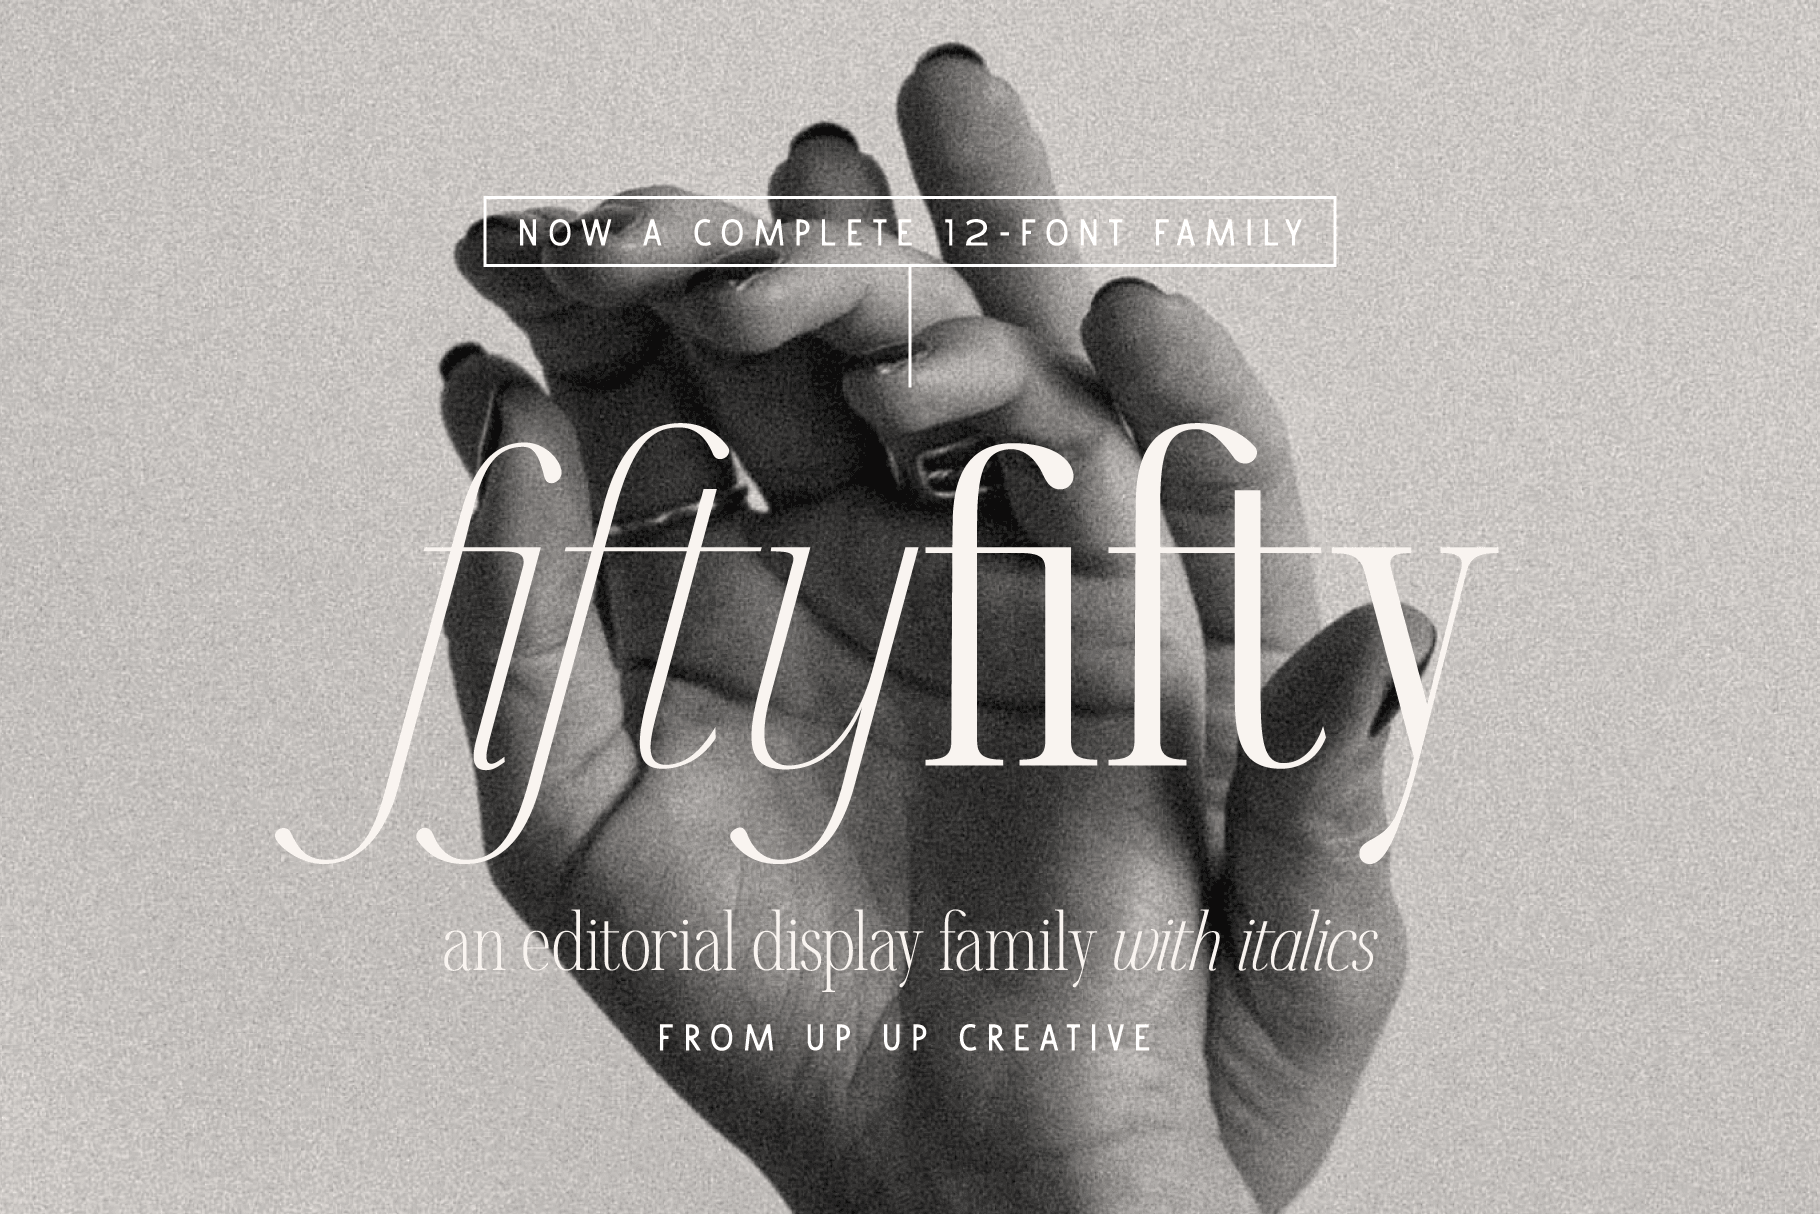
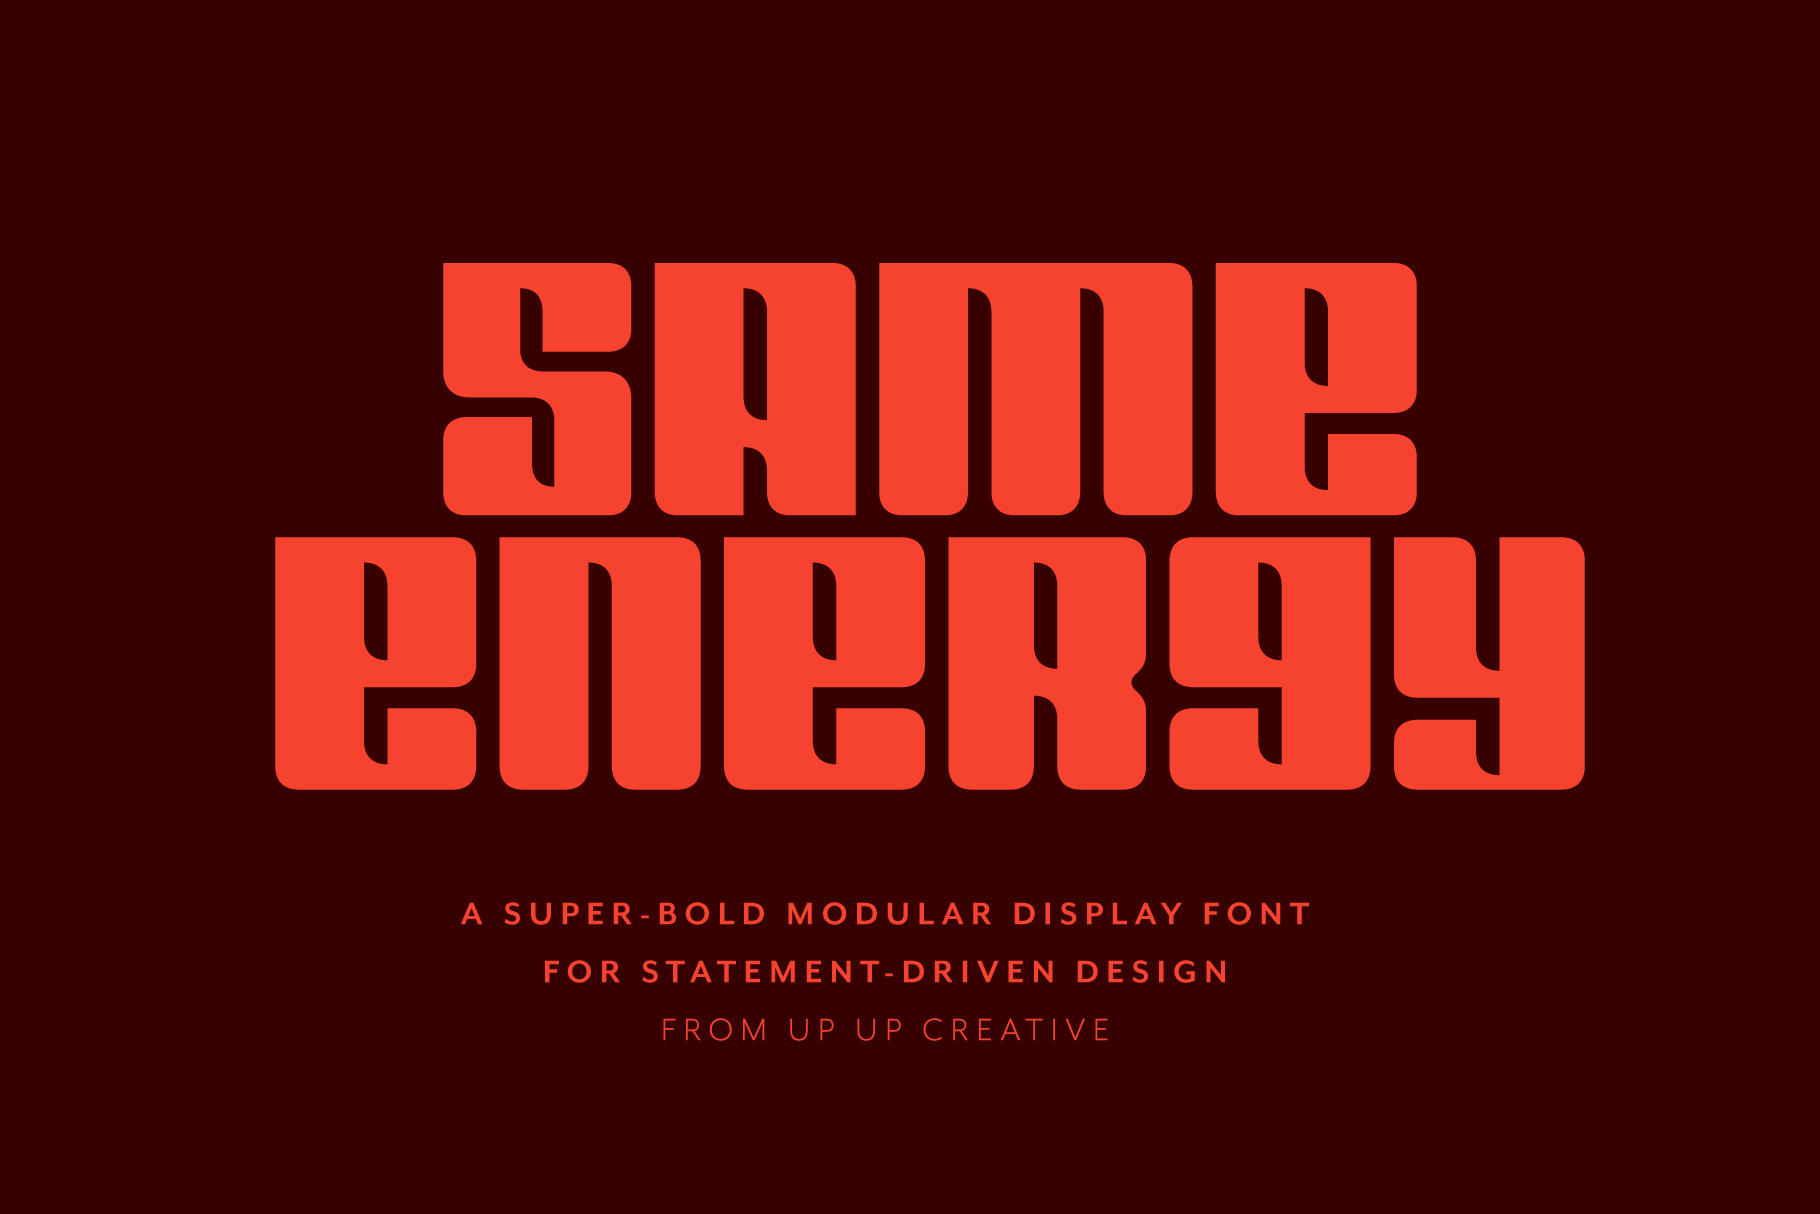
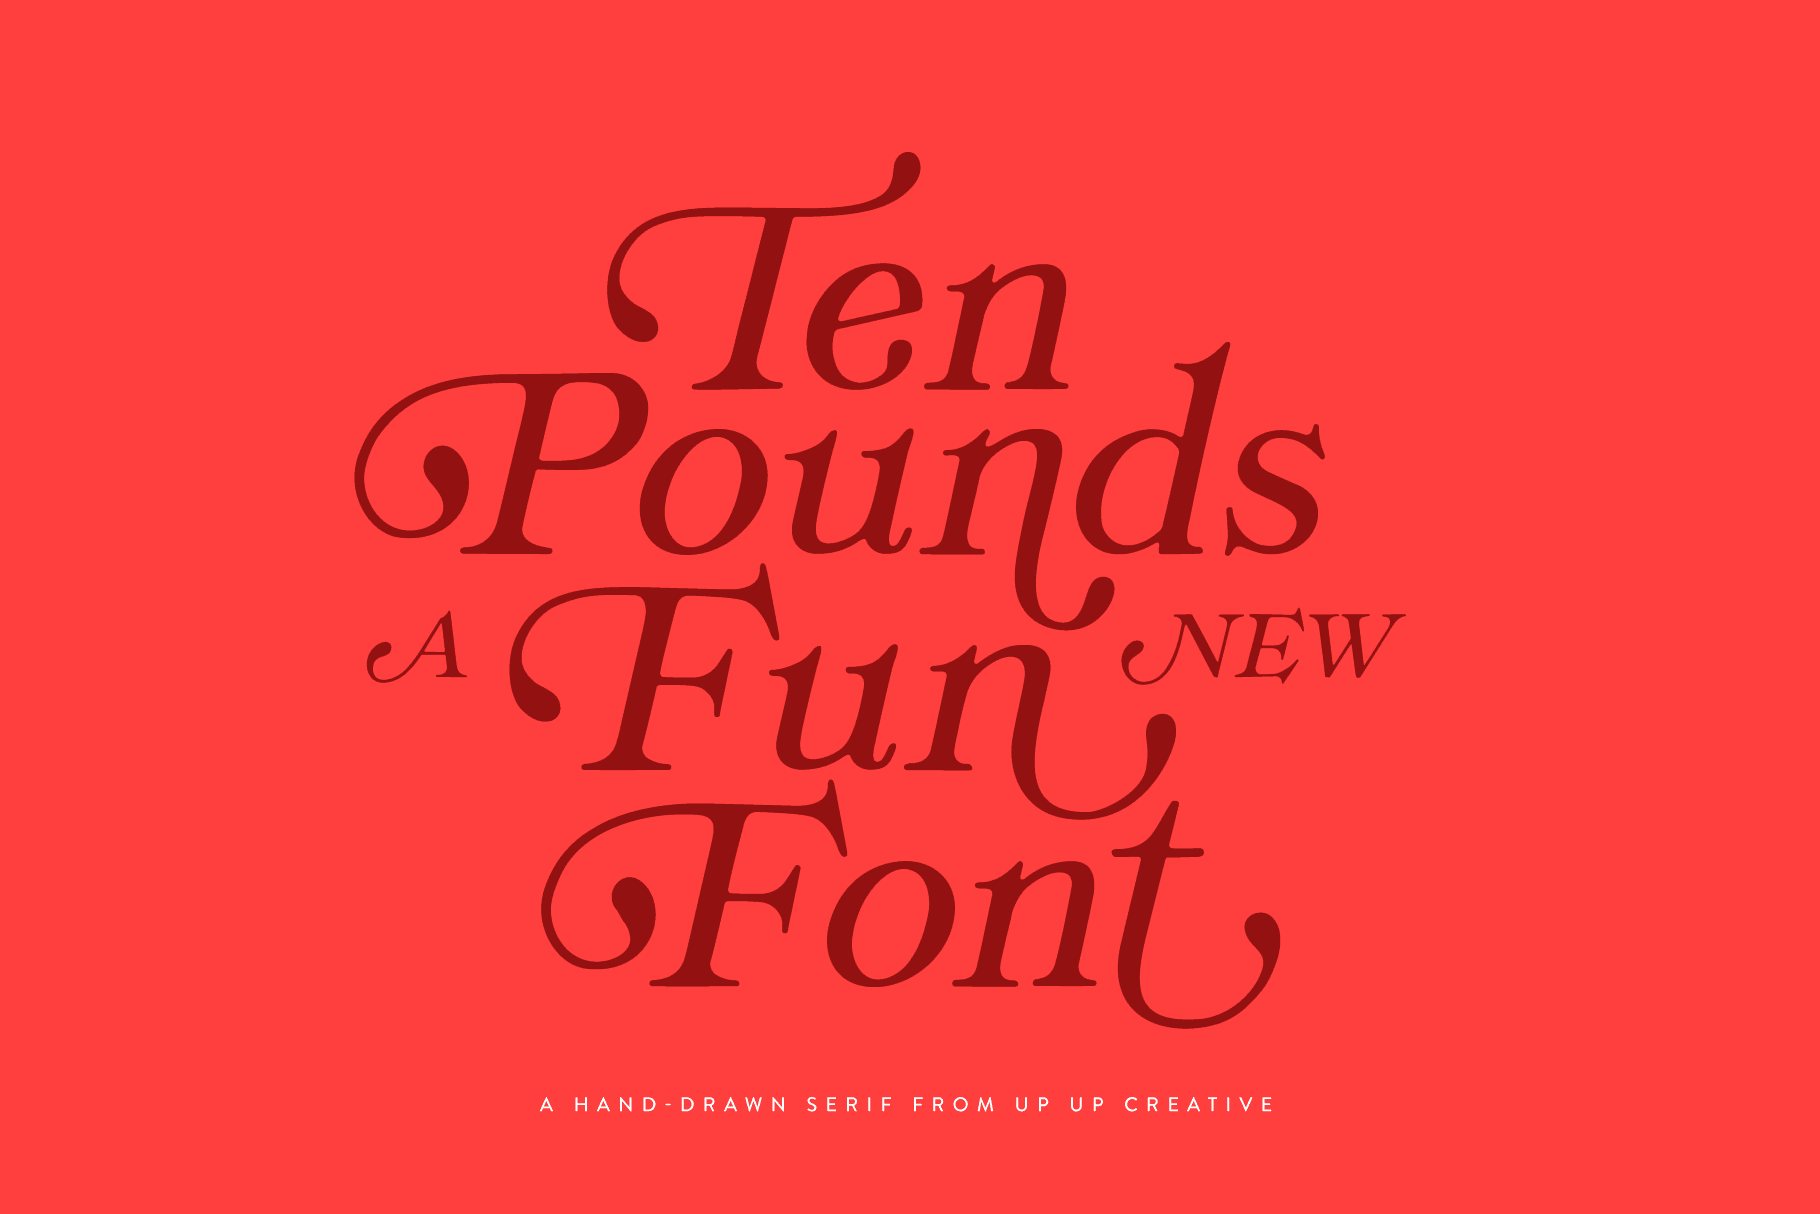
If you’ve got a Canva Pro account (or Canva for Teams, Canva for Education, or Canva for Nonprofits) and you haven’t uploaded your own fonts, you’re missing an opportunity to elevate your Canva designs and to maintain brand consistency.
While Canva does offer a huge array of great fonts to paid users (including five Up Up Creative fonts that they licensed several years ago for all users on their paid plans — Zoxi, Holla, Bundt Cake, Stoic, and Pinafore), if you’re posting on behalf of your own business or someone else’s, you really should be using custom fonts.
Luckily, it’s incredibly easy to add fonts to your Canva library.
What’s more, you can even set up default heading and text styles using your uploaded fonts.
Read on to learn how.
Uploading fonts in Canva:
- From the homepage side panel, click Brand. (If you’re on mobile, tap Menu first, then Brand.)
- Click the Brand Kit tab. If you have multiple Brand Kits, select one to customize.
- Under Brand fonts, click Upload a font.
- Select the file to upload and click Open. Only upload fonts that you’re licensed to use. If you’re uploading an Up Up Creative font and want to know which license you need for this, the standard desktop license will do the trick.
- Confirm and wait for the upload to finish.
You can now use the uploaded fonts the same way you use any fonts in Canva: select or create a text box, click on the font dropdown menu at the top, and search for the font you uploaded.
But you also can use these uploaded fonts through your brand kit. In order to best take advantage of this, you’ll want to set up your brand kit styles.
Setting up your brand kit font styles:
- From the homepage side panel, click Brand.
- Click the Brand Kit tab. If you have multiple Brand Kits, select the one you want to edit.
- Under Brand fonts, click the little pencil icon next to Headings, Subheadings, or Body. A font dropdown and formatting menu will appear.
- Select a font from the dropdown. It will also include your uploaded fonts if any.
- Optional: Set the font size, and make it bold or italic. (The only thing you can’t do here is set up line and letter spacing. I hope one day they add that capability because it can be an important part of maintaining brand consistency.)
- Click anywhere to save changes.
You can only set one default font each for headings, subheadings, and body text per Brand Kit.
(Note: you can also add brand logos and colors to your brand kit. I encourage you to definitely do this because it makes it so much easier to maintain brand consistency — and it’s so easy to quickly add your logo to whatever you’re creating.)
Using uploaded fonts:
Desktop
- Click on a text box.
- Click on the Font dropdown on the toolbar above the editor.
- Your uploaded fonts will appear under your Brand Kit. You can also just search for the name of the font in the dropdown list if you want to use the font but not your pre-determined brand styles.
Mobile
- Tap on a text box.
- Tap on Font on the toolbar below the editor.
- Your uploaded fonts will appear under your Brand Kit. You may need to scroll down to see it. You can also just search for the name of the font in the dropdown list if you want to use the font but not your pre-determined brand styles.


