Tips, Tricks, and How-Tos

Handwritten Serif Fonts: A Blend of Elegance and Personality
Handwritten serif fonts offer a beautiful balance between classic typography and personal, organic charm. These fonts carry the elegance of serifs while maintaining a handcrafted yet elegant quality that makes them feel warm and approachable. At Up Up Creative, I offer a selection of handwritten serif fonts designed to bring character and authenticity to your work.
Learn more
From Branding to Weddings: How to Use Hand-Lettered Fonts Effectively
Discover how hand-lettered fonts can add warmth and personality to your designs, from branding to weddings. Explore top font picks and expert tips to make the most of these charming typefaces.
Learn more
The Perfect Fonts for Weddings: Elegance, Romance, and Personality
Typography plays a huge role in setting the tone for a wedding. Whether it's the invitations, wedding website, day-of paper goods, or thank-you cards, the right font can make all the difference. A beautifully chosen typeface can enhance the romance, elegance, and personality of the event, helping couples create a cohesive and memorable aesthetic. Here are fourteen wedding-ready fonts that bring charm, sophistication, and style to any nuptial celebration. Here are some standout fonts perfect for wedding designs.
Learn more
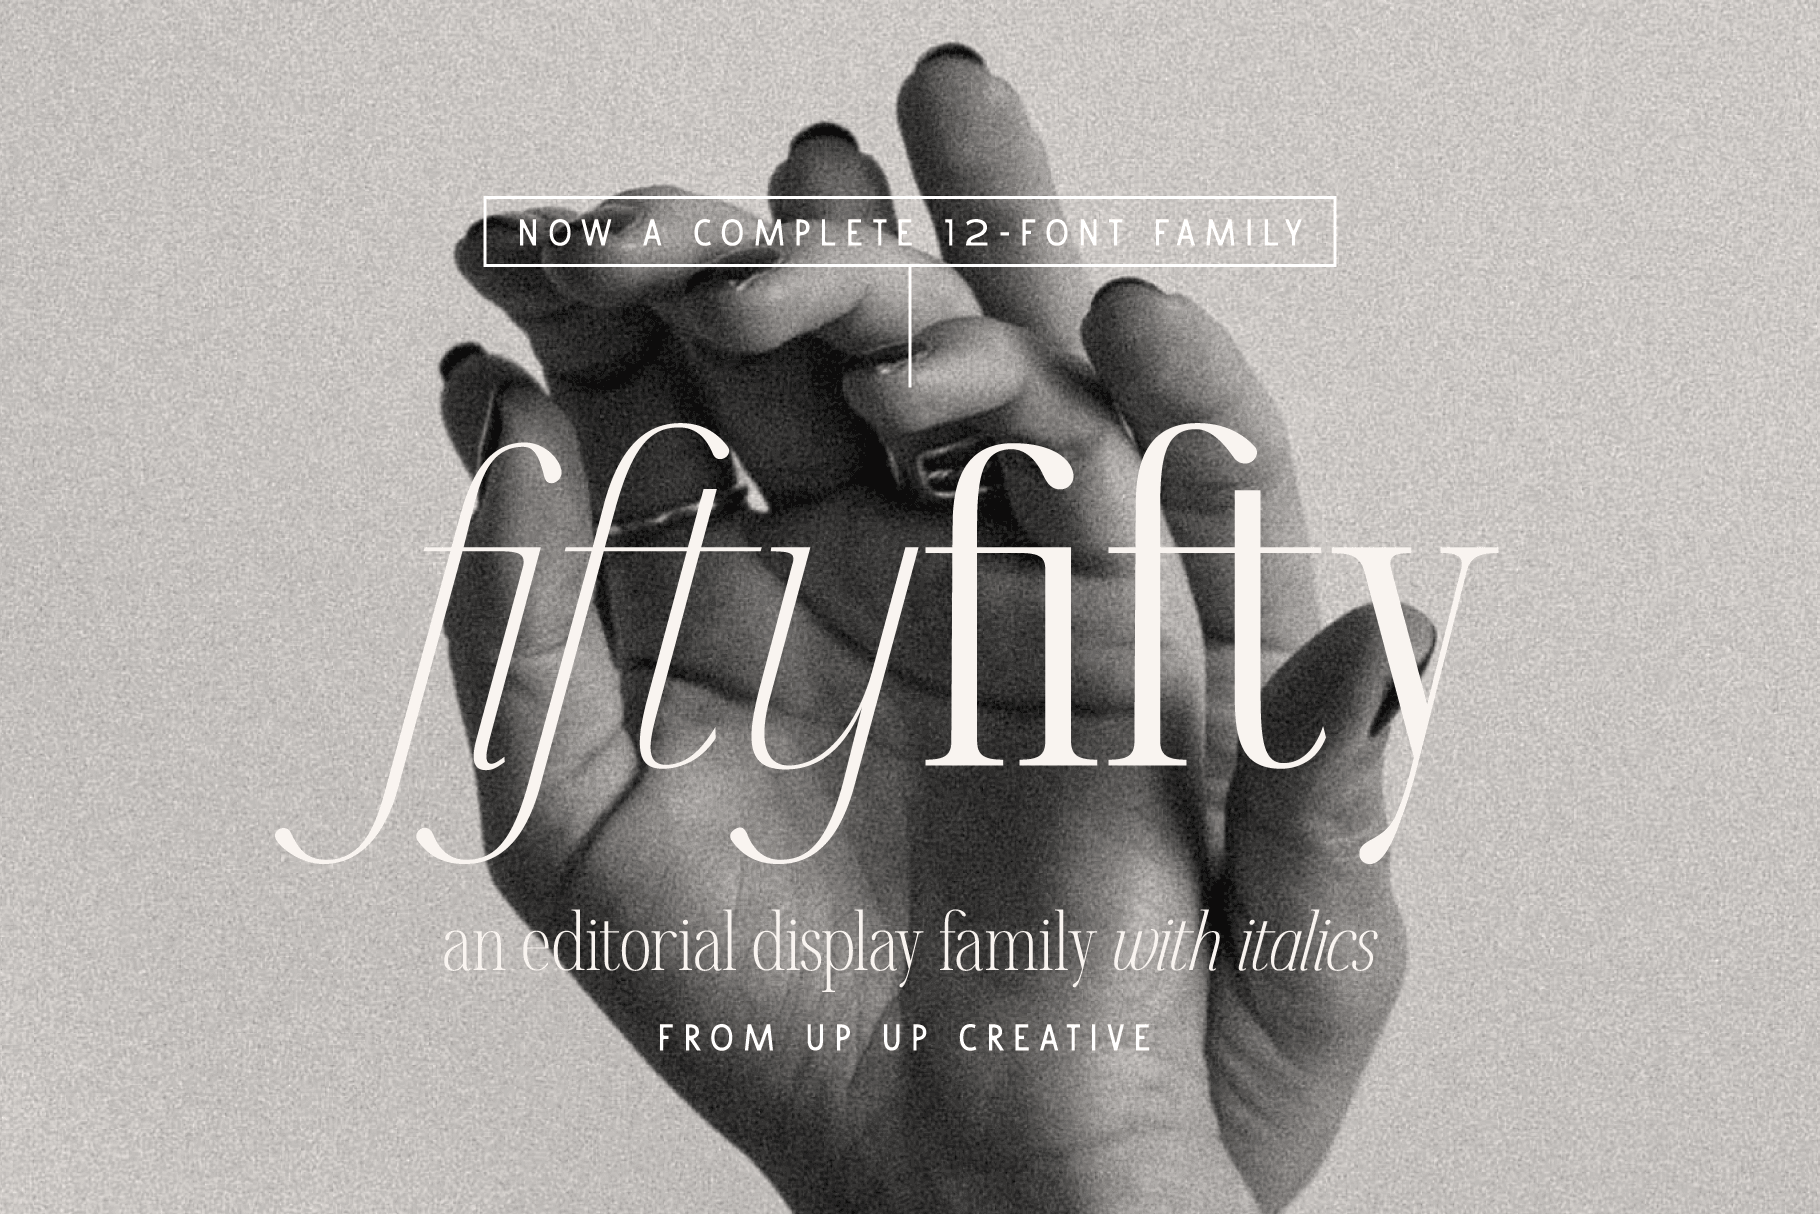
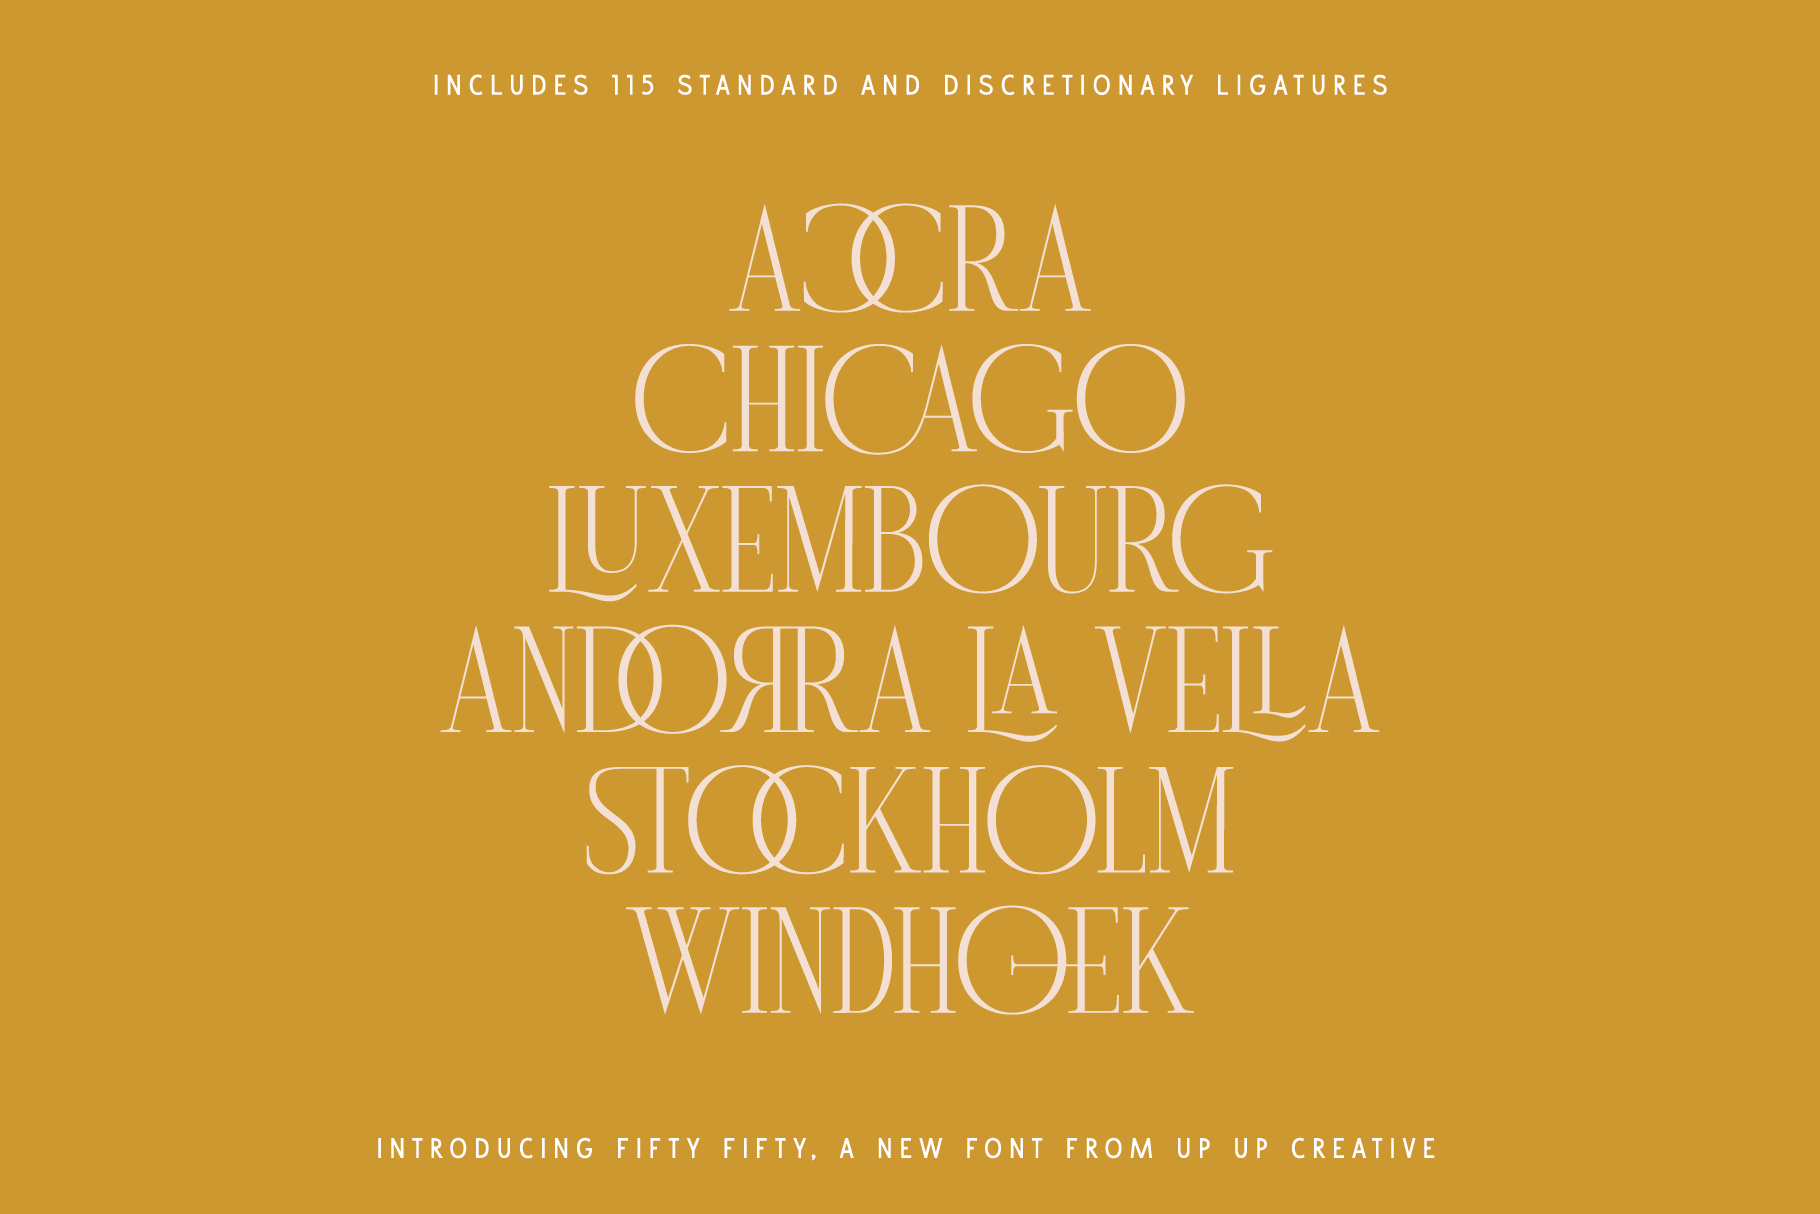
How to Upgrade to the NEW Fifty Fifty Complete Family
It's been a surprisingly long time coming, but I'm thrilled to finally introduce the expanded Fifty Fifty font family! Now featuring six weights with both upright and italic styles, it offers more ways to elevate your designs with elegance and versatility. Upgrading Made Easy Already own the previous version? Upgrade to the new expanded version at a discounted price by following the directions here: If you originally purchased at Creative Market, MyFonts, YouWorkForThem, or somewhere else, please email me your receipt and I will send you a discount code good for $24 toward your upgrade (that's equal to the cost of your original purchase, and it gives you half off the newly expanded family). If you originally purchased at upupcreative.com, use the code 24Fifty when purchasing the newly expanded family to save $24 when you purchase the new complete family. This code will ONLY work if you have previously purchased Fifty Fifty on my website. It's only good once per order, once per customer, and only on the desktop or 10k page view webfont licenses. It does not combine with other discounts. If you have any trouble with this, email me. I hope you love the new expansion as much as I do. As always, don't hesitate to reach out if you have questions. → Explore the new Fifty Fifty family
Learn more
Font Licensing 101: Do Graphic Designers and Clients Need Separate Licenses?
Do I need to purchase separate font licenses for myself and my clients? Here's a breakdown of common client-designer licensing scenarios.
Learn more
Unleash Your Creativity with These Bestselling Fonts
As 2025 begins, I want to take a moment to look back on 2024 and share what’s ahead. Your support and feedback have meant so much, and I really appreciate having you along for the ride.
Learn more
Curious about font management software?
As a graphic designer and then as a type designer, I've talked to lots of people about fonts over the years. Lots and lots and lots of people. I've been both the asker of questions and the answerer. I've been the complete novice and the expert. And I've noticed that there are certain topics that just make people at all levels of their careers kind of nervous or uncomfortable. Chief among these is font management software. People who know what font management software is and does feel overwhelmed by it. People who don't know what it is or what it does wonder if it really even helps with anything. So I thought I'd do a little series here on font management software. Today I'll just hit on what it is and what it can do, but in the coming weeks I'll also tackle what your best options are right now and how you can get the most out of it. I'll start today with the basics. What is font management software (FMS)? While PCs and Macs both come with default ways to install new fonts, the built-in software doesn't give you much control over those fonts. The more fonts you install, the tougher it can be to manage everything using just the built-in software. In short, dedicated font management software (FMS) helps users organize, install, and preview fonts. It can do things Windows and MacOS can’t. While each font management software developer will sell you on many more advantages than these, here are my own top five reasons for using (and recommending) font management software: Tag your fonts. Use tags to organize by client, style, license type, font source, designer, and more. Some software even lets you rate fonts with stars to keep track of your favorites. Track your licenses. I use tags like "free-for-personal-use" and "demo-only" as well as tags for where I purchased each font. Some FMS tools even let you store EULAs, track seat counts, monitor distribution, and more. Activate and deactivate fonts. Keep your system running smoothly by only activating fonts you need for the current project. Many FMS apps can auto-activate fonts when a file requires them—huge time saver. Preview fonts with clients. Easily show different font options in one place without needing to mock everything up manually. Sync fonts between computers. If you use both a desktop and a laptop, FMS can help ensure you're never missing fonts when switching devices.
Learn more
How to Use Ligatures and Other Special Features in Canva
Canva can be a super useful tool when you don’t have access to professional design software. Historically, though, it’s been fairly limited when it comes to typography — especially advanced type features like kerning and OpenType controls. 2025/2026 Update: Good news: Canva now supports standard ligatures and kerning directly in the editor, so you no longer have to rely entirely on workarounds. However, Canva still doesn’t offer full OpenType feature control (like discretionary ligatures, stylistic sets, or swashes -- those still require a workaround, which I explain below). Here’s how to work with ligatures effectively in Canva — both natively and with alternative techniques. What’s New: Built-In Ligature Support in Canva Canva’s Advanced Text Formatting panel now includes toggles for: Kerning: automatic spacing adjustments for tighter or looser letter spacing. NOTE: Kerning is enabled by default in your new designs. Ligatures: enables standard ligature pairs if the font supports them. NOTE: Ligatures are disabled by default because they currently conflict with text animations. These features make text cleaner and more professional. How to Enable (Standard) Ligatures in Canva Canva does not distinguish between standard and discretionary ligatures in the Advanced Text Formatting panel — it simply offers a single “Ligatures” toggle. As of January 1, 2026, turning this on only activates standard ligatures, even if a font includes discretionary ones. That said, here's how to do it: Open your design in Canva. Select a text box. In the editor toolbar, click Advanced Text Formatting (the “T” with a two-ended arrow beneath it). Click on the button for "More settings." Under "Typography" you'll be able to enable (and disable) both ligatures and kerning. If the selected font supports standard ligatures, Canva will apply them automatically once enabled. What's the Difference Between Standard and Discretionary Ligatures? Standard ligatures are common letter pairings—like fi, fl, ff, or tt—that are designed to improve readability and spacing. They’re typically subtle and meant to prevent awkward collisions between letters, which is why many design tools (including Canva now) can apply them automatically when the font supports it. Discretionary ligatures, on the other hand, are more decorative or expressive. They might replace multiple letters with a more stylized form, add flair, or create a distinctive look, and they’re meant to be used intentionally rather than by default. Because they’re optional and stylistic, discretionary ligatures usually require more advanced OpenType controls to access. Discretionary ligatures are NOT currently supported natively in Canva’s built-in feature toggles. But don't lose hope! If a font has more advanced OpenType features (like stylistic alternates, discretionary ligatures, or swashes), there's a simple workaround you can use to insert those characters manually. With Character Map software (free and paid versions available for both Windows and Mac), you can still use OpenType characters like discretionary ligatures, swashes, and stylistic alternates in Canva as long as you're using a version of the OpenType font that is PUA-encoded. (Not sure what I'm talking about? Read more here. Or if you want to skip that, know that all Up Up Creative fonts include a PUA-encoded version with your download.) How to use ligatures and special characters in Canva: Open Canva and start a new design or open an existing one. Select the text box where you want to use the ligature. Open your character map app and select the font that you are using in Canva. Locate and select the ligature that you want to use in the character map software. Copy the ligature by clicking on the “Copy” button or by using the shortcut key Ctrl+C (PC) or Cmd+C (Mac). Go back to Canva and paste the ligature into the text box by clicking on the “Paste” button or by using the shortcut key Ctrl+V (PC) or Cmd+V (Mac). Most modern operating systems come with a built-in character map app, but you can also find different free and paid third-party character map software. If you feel like you need a little bit more instruction on how to use a character map, you can find more info in this PDF.
Learn more
How to add your Up Up Creative fonts to Canva
If you’ve got a Canva Pro account (or Canva for Teams, Canva for Education, or Canva for Nonprofits) and you haven’t uploaded your own fonts, you’re missing an opportunity to elevate your Canva designs and to maintain brand consistency. While Canva does offer a huge array of great fonts to paid users (including five Up Up Creative fonts that they licensed several years ago for all users on their paid plans — Zoxi, Holla, Bundt Cake, Stoic, and Pinafore), if you’re posting on behalf of your own business or someone else’s, you really should be using custom fonts. Luckily, it’s incredibly easy to add fonts to your Canva library. What’s more, you can even set up default heading and text styles using your uploaded fonts. Read on to learn how. Uploading fonts in Canva: From the homepage side panel, click Brand. (If you’re on mobile, tap Menu first, then Brand.) Click the Brand Kit tab. If you have multiple Brand Kits, select one to customize. Under Brand fonts, click Upload a font. Select the file to upload and click Open. Only upload fonts that you’re licensed to use. If you’re uploading an Up Up Creative font and want to know which license you need for this, the standard desktop license will do the trick. Confirm and wait for the upload to finish. You can now use the uploaded fonts the same way you use any fonts in Canva: select or create a text box, click on the font dropdown menu at the top, and search for the font you uploaded. But you also can use these uploaded fonts through your brand kit. In order to best take advantage of this, you’ll want to set up your brand kit styles. Setting up your brand kit font styles: From the homepage side panel, click Brand. Click the Brand Kit tab. If you have multiple Brand Kits, select the one you want to edit. Under Brand fonts, click the little pencil icon next to Headings, Subheadings, or Body. A font dropdown and formatting menu will appear. Select a font from the dropdown. It will also include your uploaded fonts if any. Optional: Set the font size, and make it bold or italic. (The only thing you can’t do here is set up line and letter spacing. I hope one day they add that capability because it can be an important part of maintaining brand consistency.) Click anywhere to save changes. You can only set one default font each for headings, subheadings, and body text per Brand Kit. (Note: you can also add brand logos and colors to your brand kit. I encourage you to definitely do this because it makes it so much easier to maintain brand consistency — and it’s so easy to quickly add your logo to whatever you’re creating.) Using uploaded fonts: Desktop Click on a text box. Click on the Font dropdown on the toolbar above the editor. Your uploaded fonts will appear under your Brand Kit. You can also just search for the name of the font in the dropdown list if you want to use the font but not your pre-determined brand styles. Mobile Tap on a text box. Tap on Font on the toolbar below the editor. Your uploaded fonts will appear under your Brand Kit. You may need to scroll down to see it. You can also just search for the name of the font in the dropdown list if you want to use the font but not your pre-determined brand styles.
Learn more